
[show_shopthepost_widget id=”178726″]
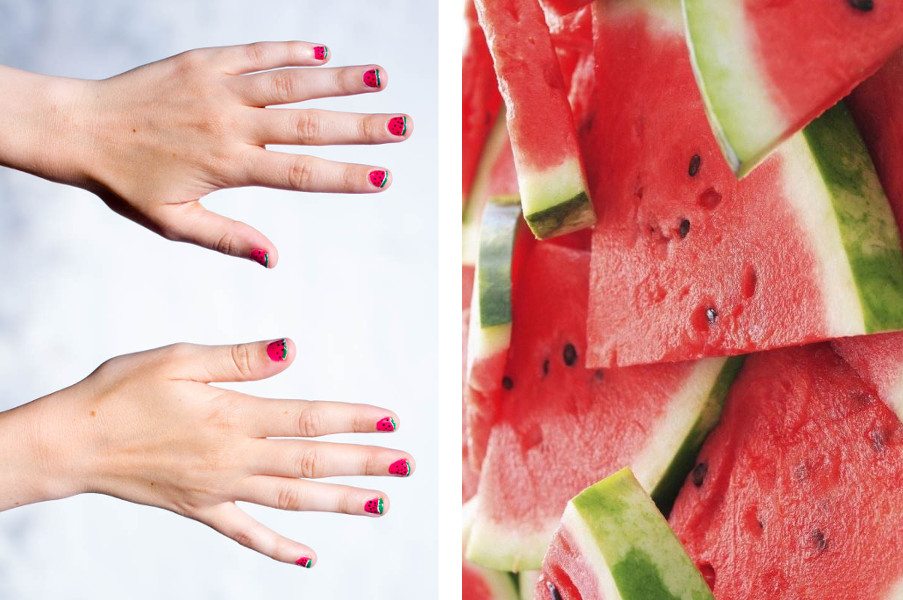
Since the summer brings bright colors and fresh fruit, I felt inspired and decided to combine the to, which ended up with me doing a watermelon nail polish design.
If you want the fresh and fruity nails as well, here’s a quick guide!:
You need:
Nail polishes in a reddish/pink color, green, white and black
Tooth picks
Q-tips and nail polish remover
1. Paint your nails in the red nuance and let them dry.
2. Make a thick line(about 2 millimeters) at the tip of your nails and let them dry.
3. Now make a thin line of green polish at the tip of your nail(you can use a tooth pick and dip it in the green polish and draw the line with it). There should be a white line between the green line and the red area of the nail.
4. Dip a new tooth pick in the black nail polish and make title dots on the red area. There should be more dots along close to the white line and less dots the further up the nail you go.
5. Take a q-tip soaked in nail polish remover and clean the stray nail polish off of your skin.
There you go – now get painting your nails summery fresh!